Here’s the first public release of Dreamwalker!
You can download it here:
PC
macOS
Watch this video below for a demonstration of features:

Instructions
Prompt Selection
At the start, select between using SDXL (via Replicate) or Glif.
Using SDXL
SDXL in Dreamwalker behaves mostly like normal image prompting. Prompt and get an image.
Using Glif
Using Glif requires you grab a Glif’s ID via it’s URL. For example, the Lego Designer Glif is:
https://glif.app/@POOFIEQ/glifs/clndtu41k0020jh0g931dd08i
To use this in Dreamwalker, copy and paste the last bit after glifs/and put it in the ID field in Dreamwalker. For the Lego Designer, this would be clndtu41k0020jh0g931dd08i.
Dreamwalker’s Glif support only supports single parameter glifs right now (probably). If you want to use mutliparameter Glifs, let me know!
Using Dreamwalker
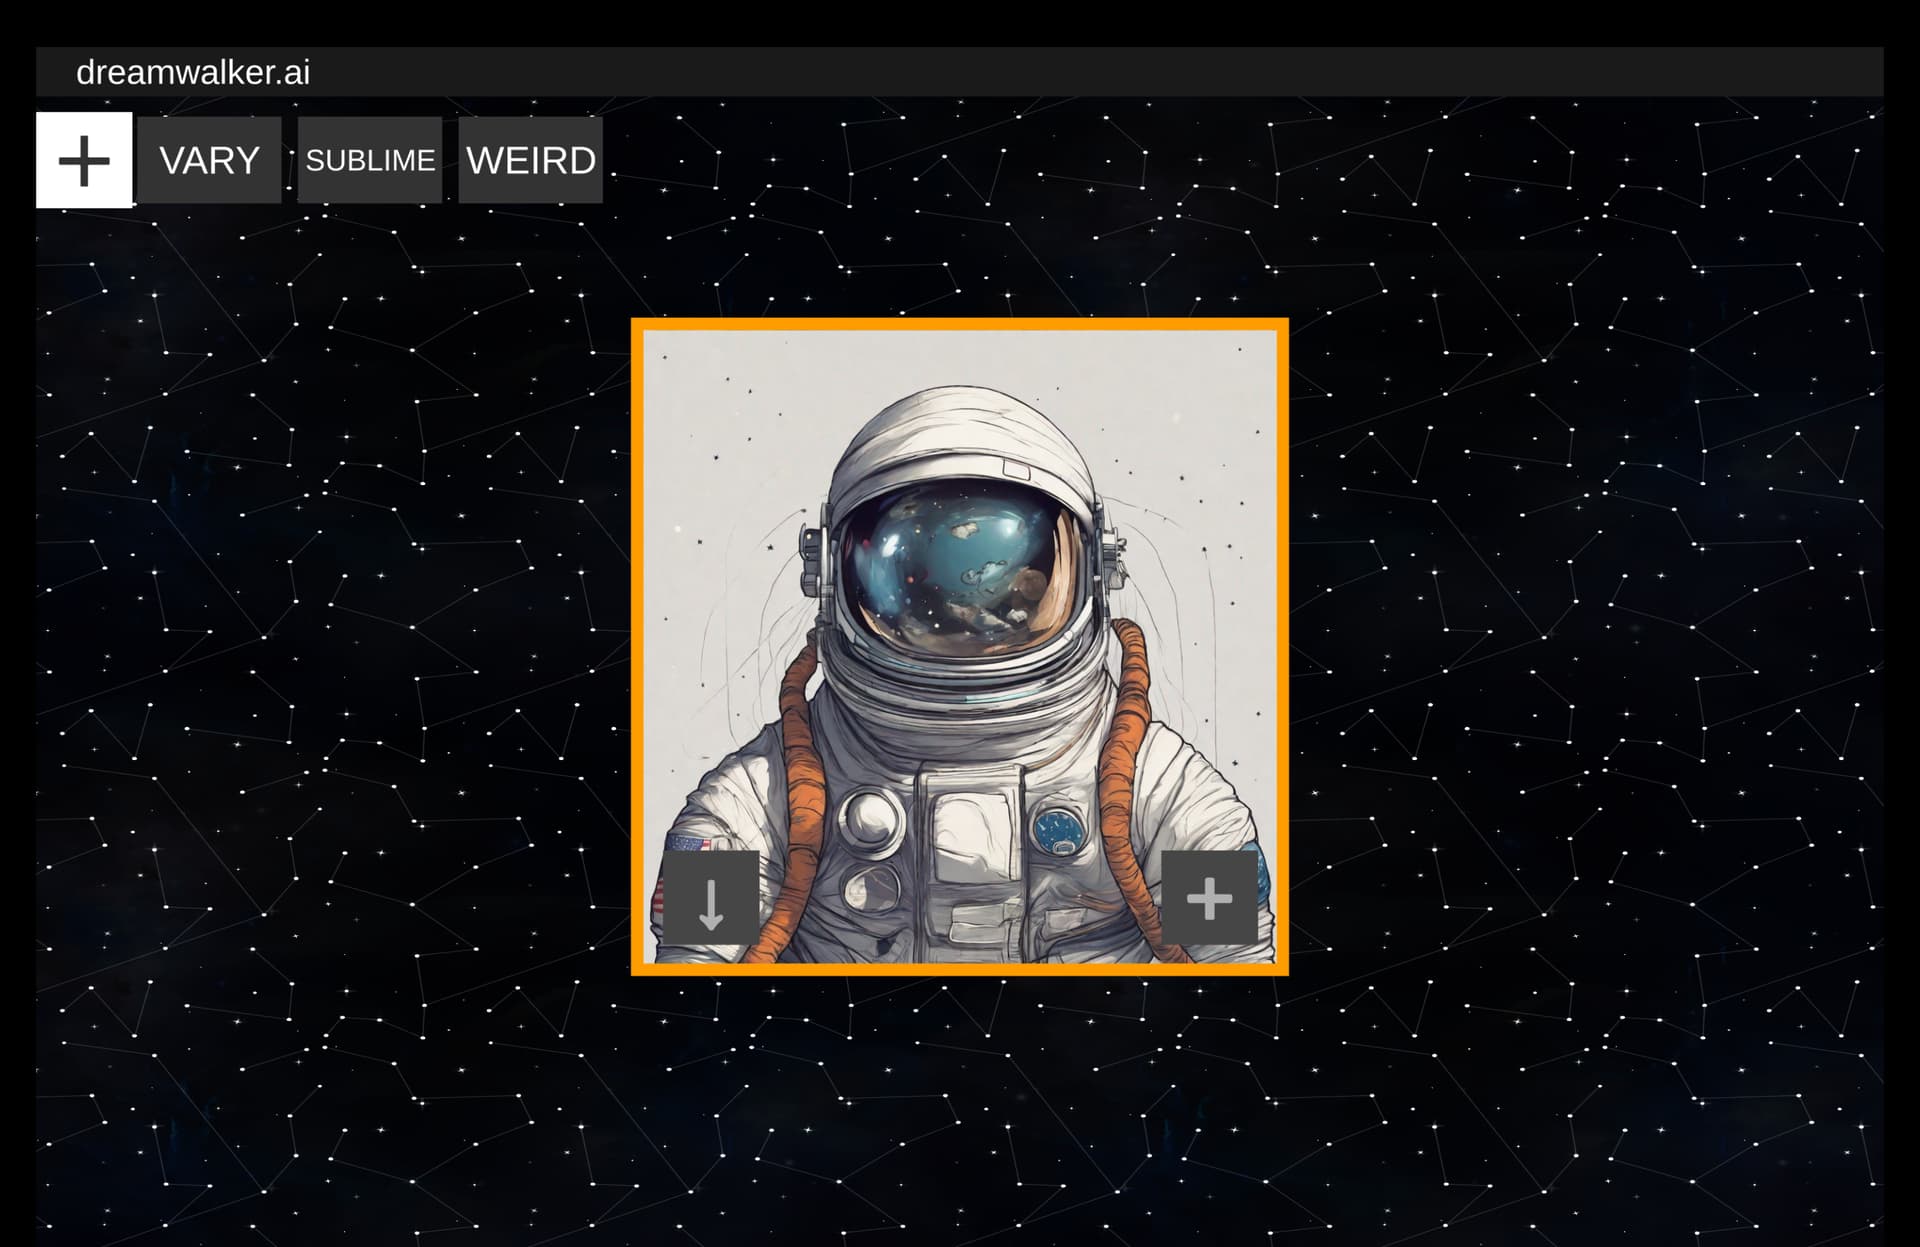
Once you prompt, you’ll see a loading image node that is waiting for the server to return your image, once loaded, you can do a few things:
Basic Navigation
Scroll In/Out - Zoom in and out of the canvas
Click a node - Zoom in on a specific node
Shift+Click+Drag - Pan the camera around
Download Image (bottom left down-arrow)
Images are full resolution and saved near the application download.
Mac images are saved here inside the application here:
dreamwalker-alpha2.app/screenshots
PC images are saved in the “Data” folder.
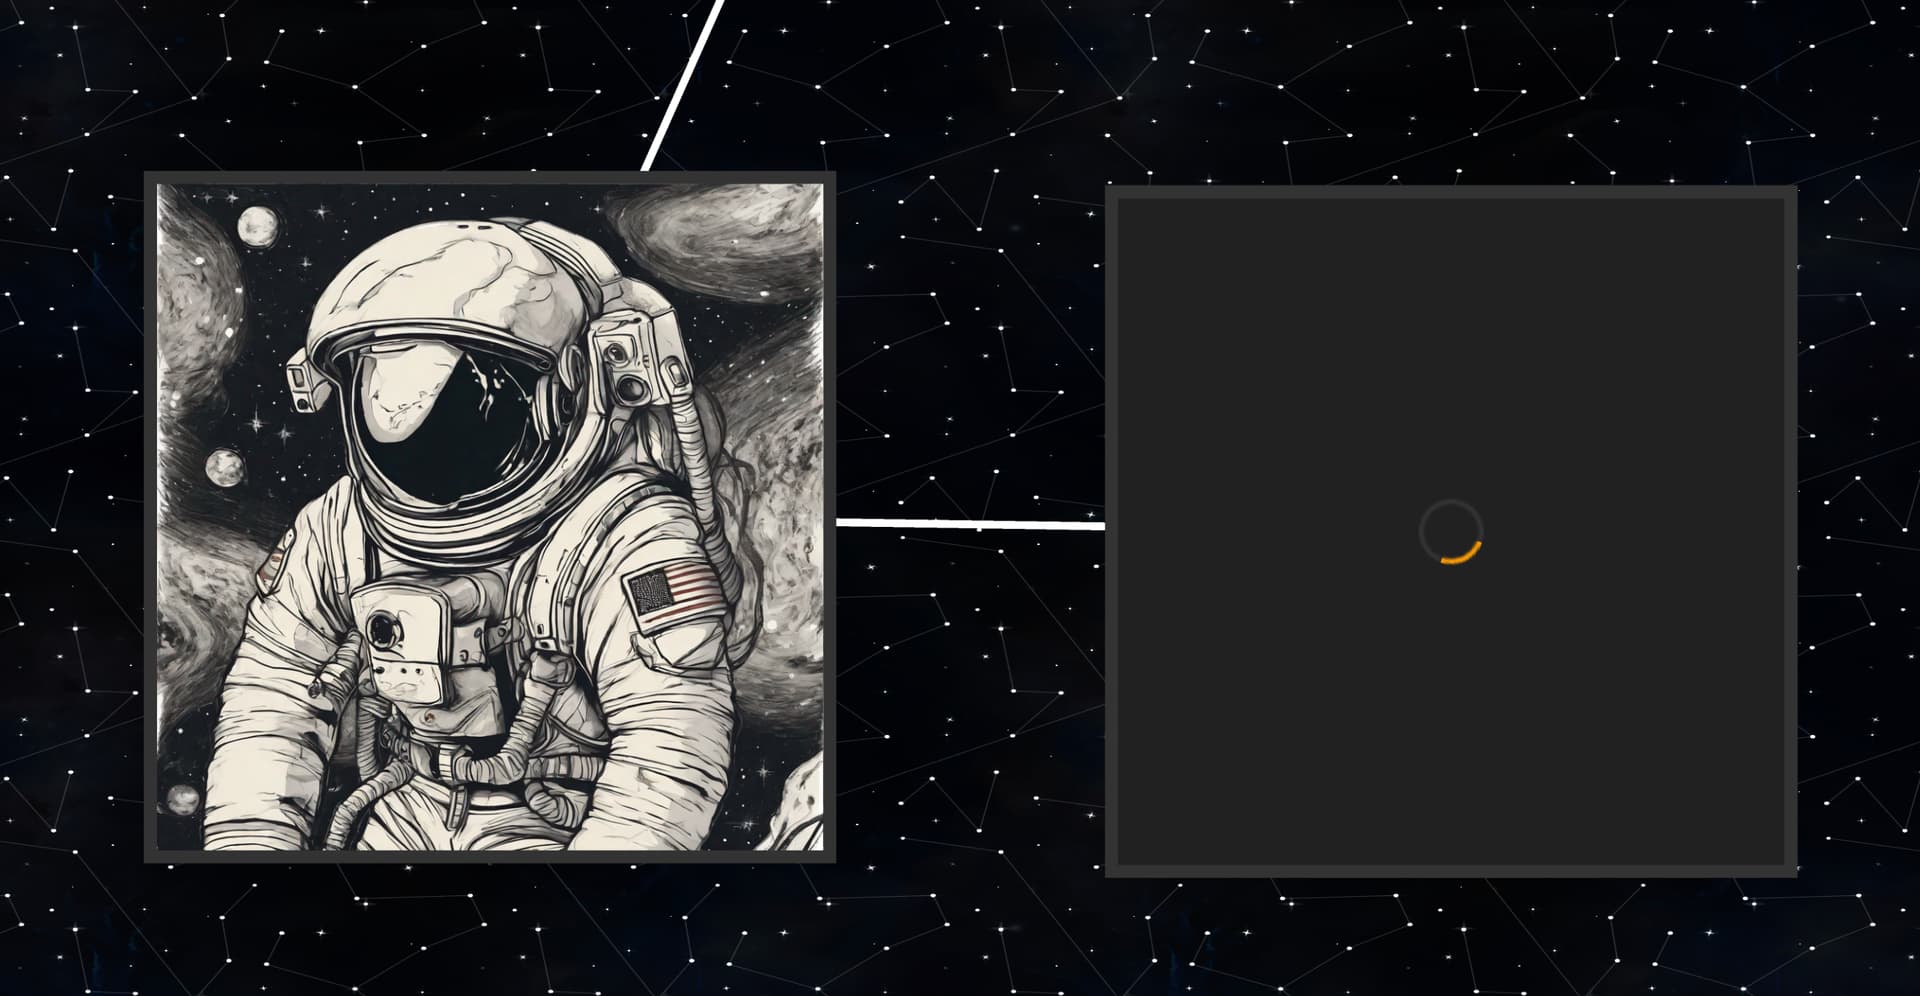
Spawn new image (bottom right plus sign)
Clicking the “+” will spawn a new version of the image based on the selected “Transform” at the top. You can spawn as many new images as you want.
Selecting Transforms
Clicking a transform name at the top will select it. Any new “+” (“Spawn”) you click after that will use that transform.
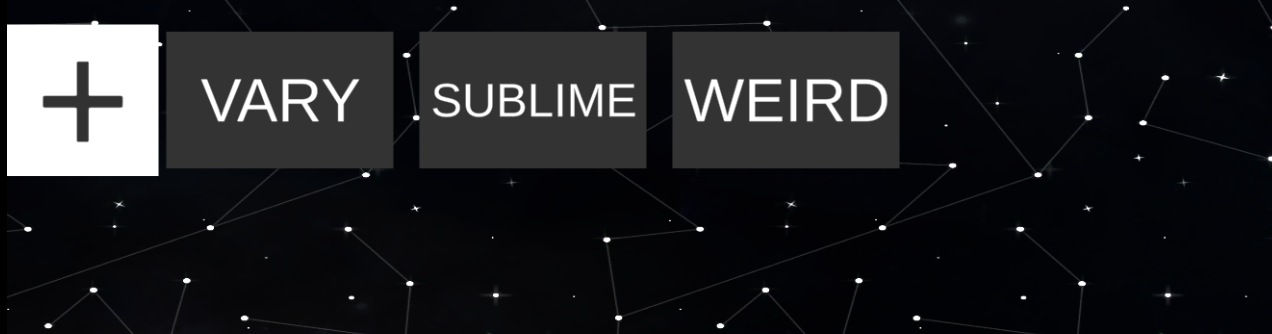
Dreamwalker comes with three pre-loaded transforms:
- Vary - resubmit using the same prompt, basically “get a variation of the same thing”
- Sublime - make something more “sublime”
- Weird - make something more “weird”
Adding Transforms
You can also add your own transforms by clicking the plus sign in the top left. Clicking it will show you this window:
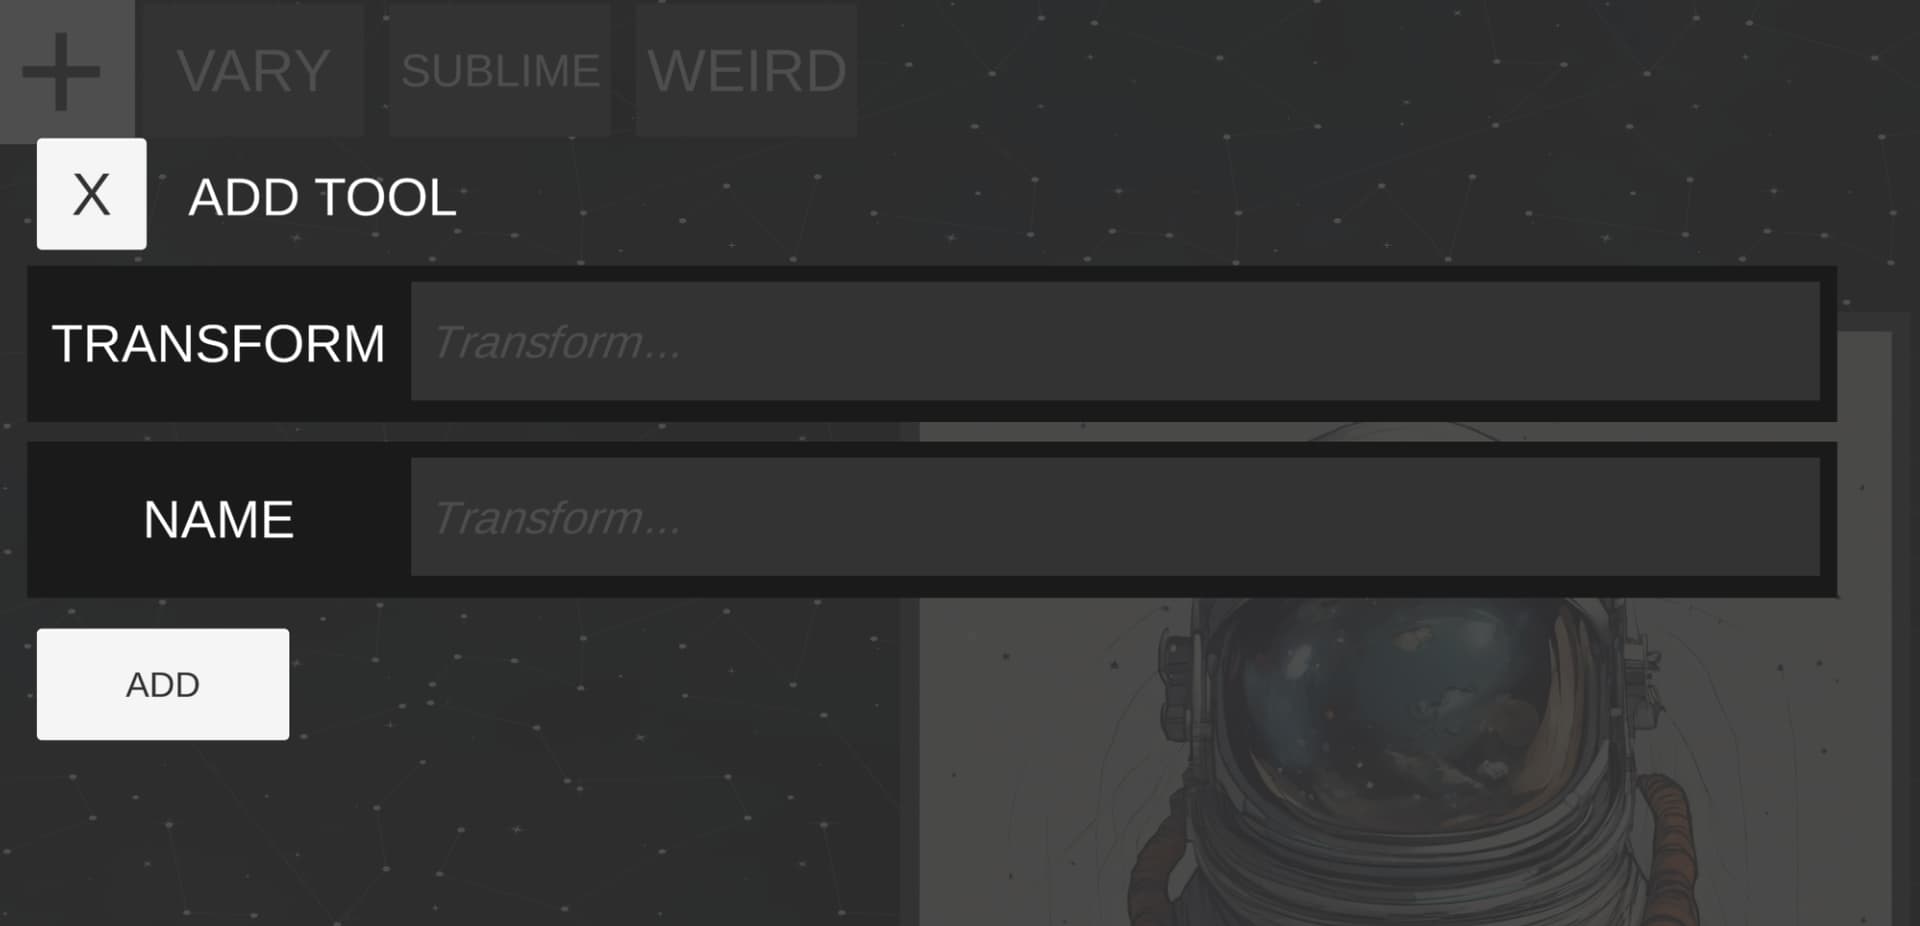
Here you can add your own transform.
Transform - this is the “semantic transform” itself. Think of this sort of like plain language “editing”. It’s something similar to “instructions” as if you’re talking to someone else about what you’d like to see in their image. It can be basically anything.
Name - this is just the name that appears on the top bar to represent the transform.
Click “Add” to add the transform to the top, and then you can select it and use it like any other transform.
One-off transforms.
When you select a node, you can see both its prompt as well as an input field at the bottom:
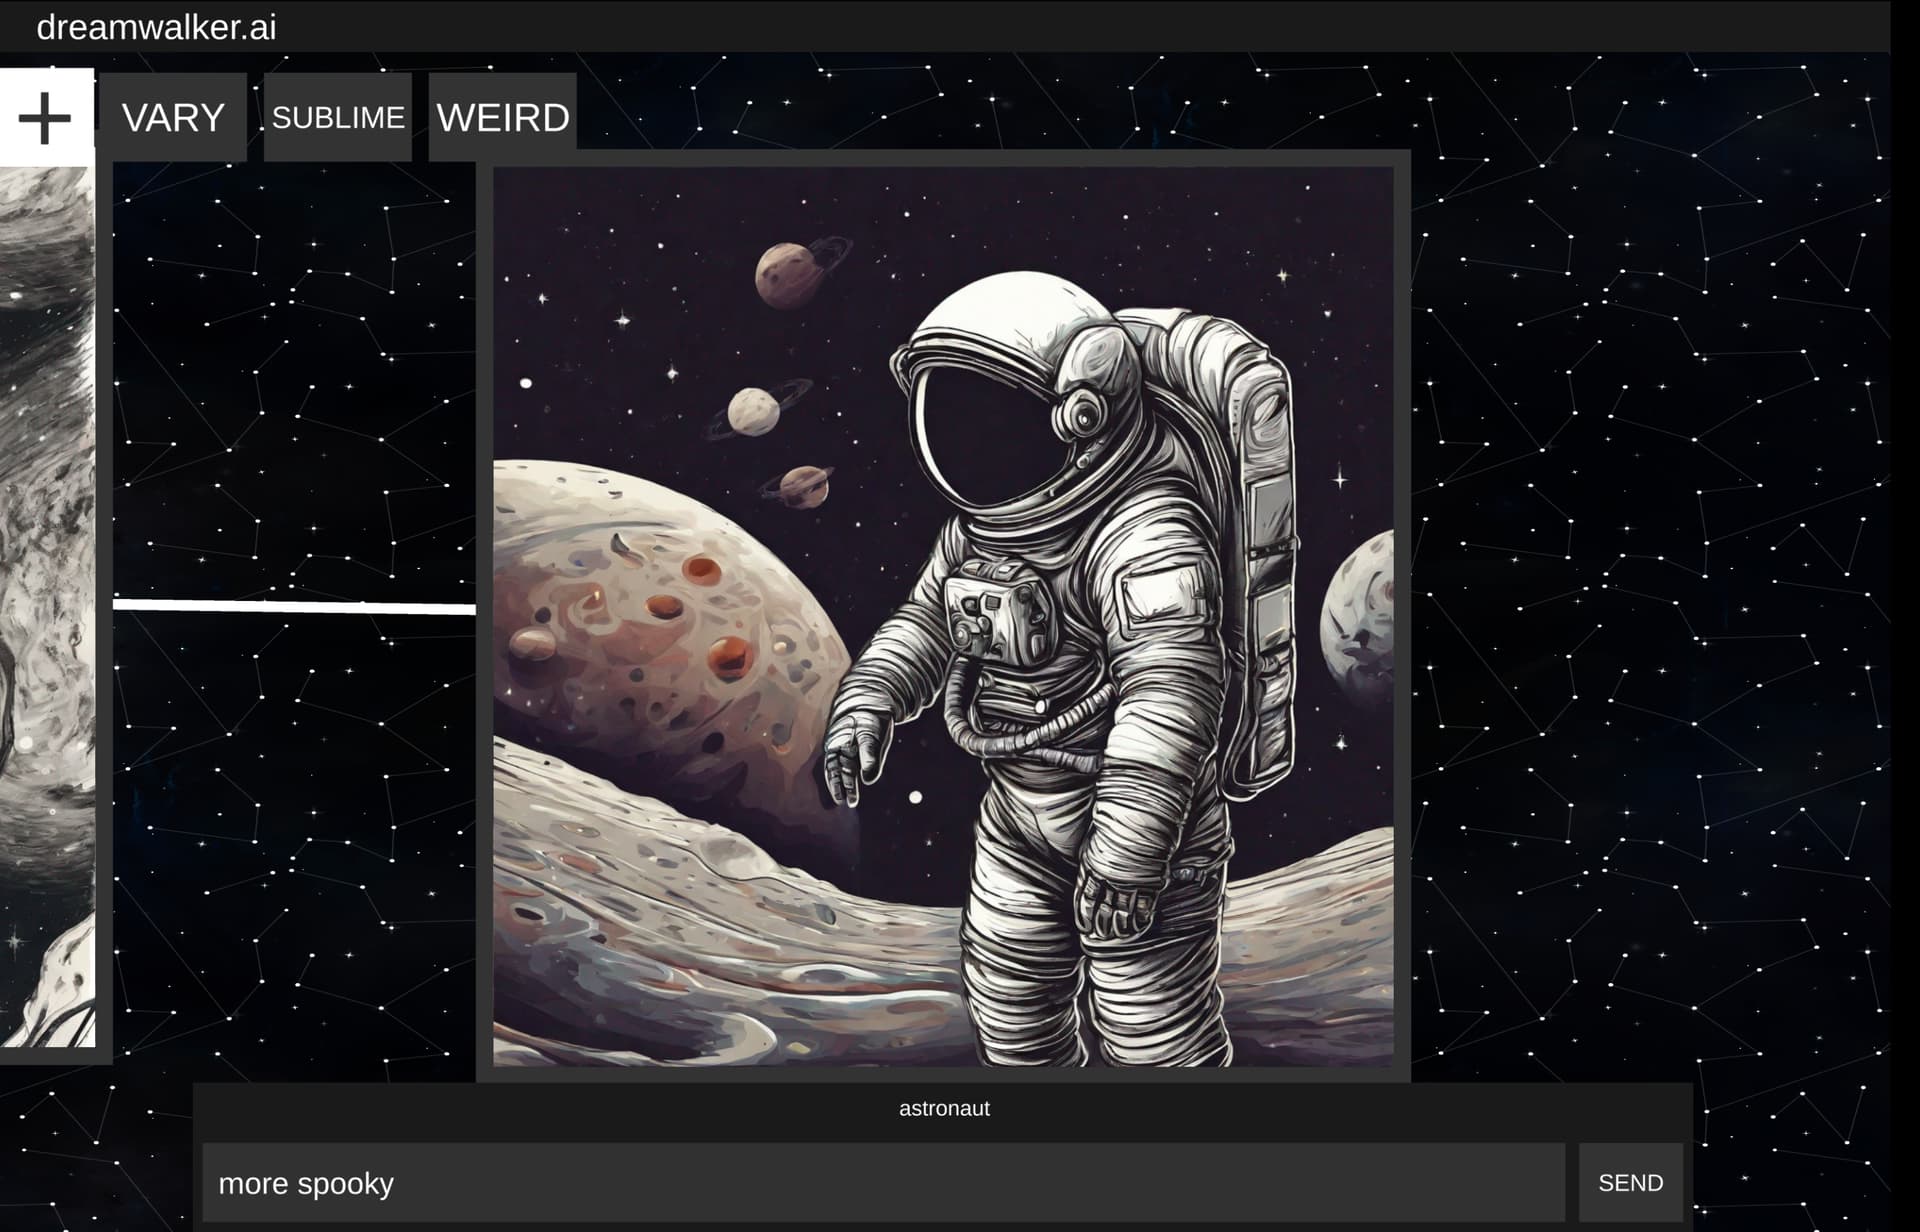
By using this input field, you can perform a one-off transform on an image. Clicking “send” will transform the current prompt by the input text. You can also continue using the same transform again by continuing to click send.
For now, that goes over most of what the tool offers and how to use it! Please let me know in this thread (or in the Tool section generally) if you have feedback/thoughts on the tool. Would love to know how people are using it and what they’d like to see in the tool.
Thanks!